Unconventional Homeschool Photos with DIY Nature Crowns
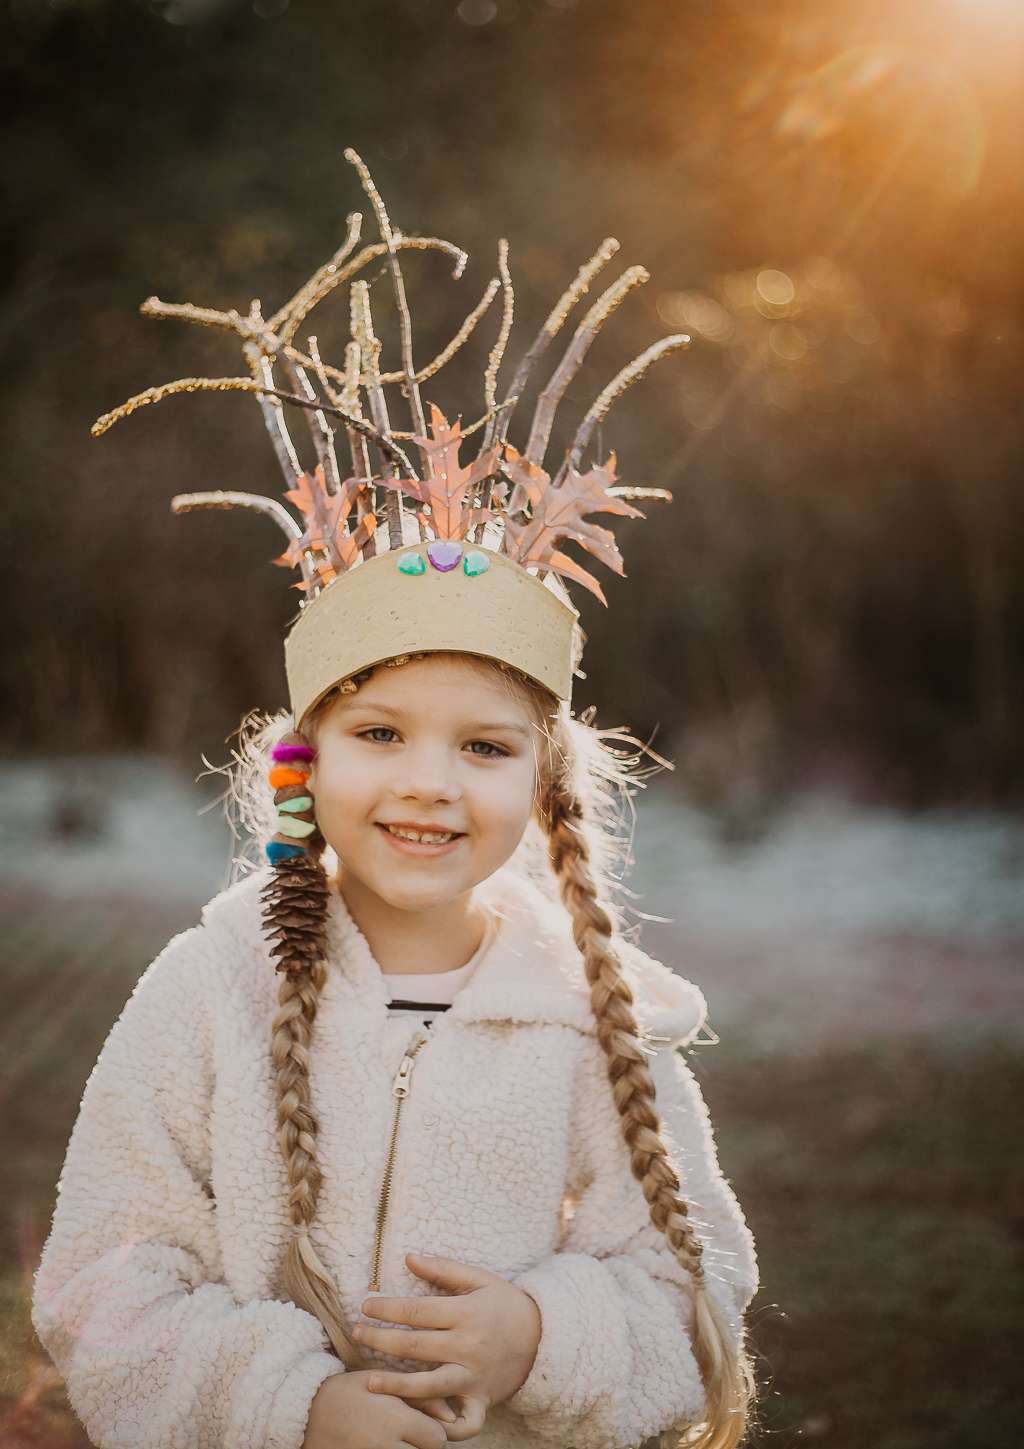
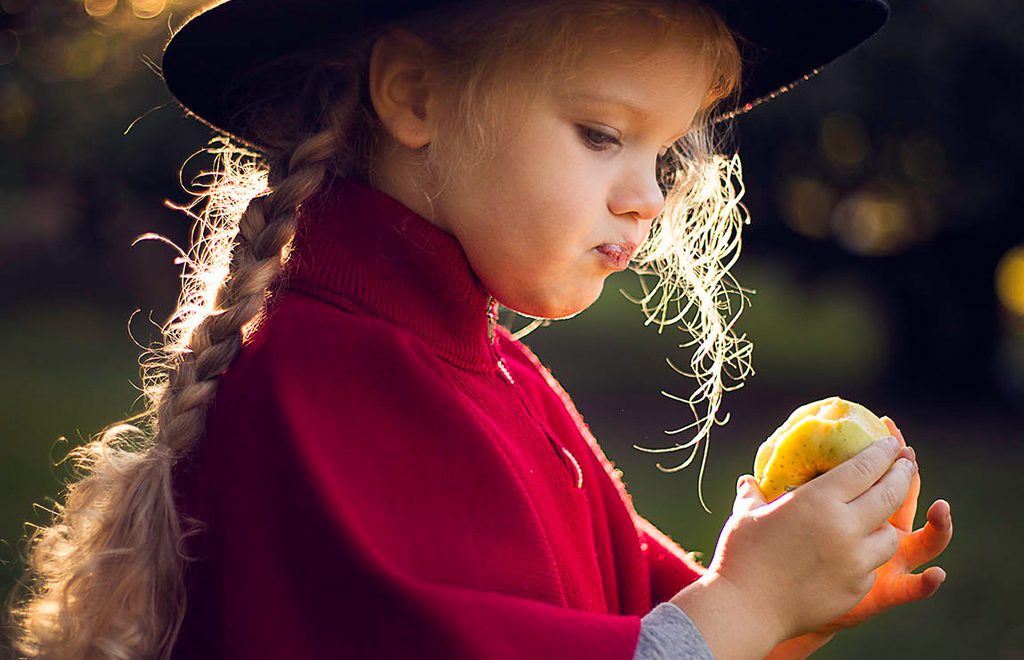
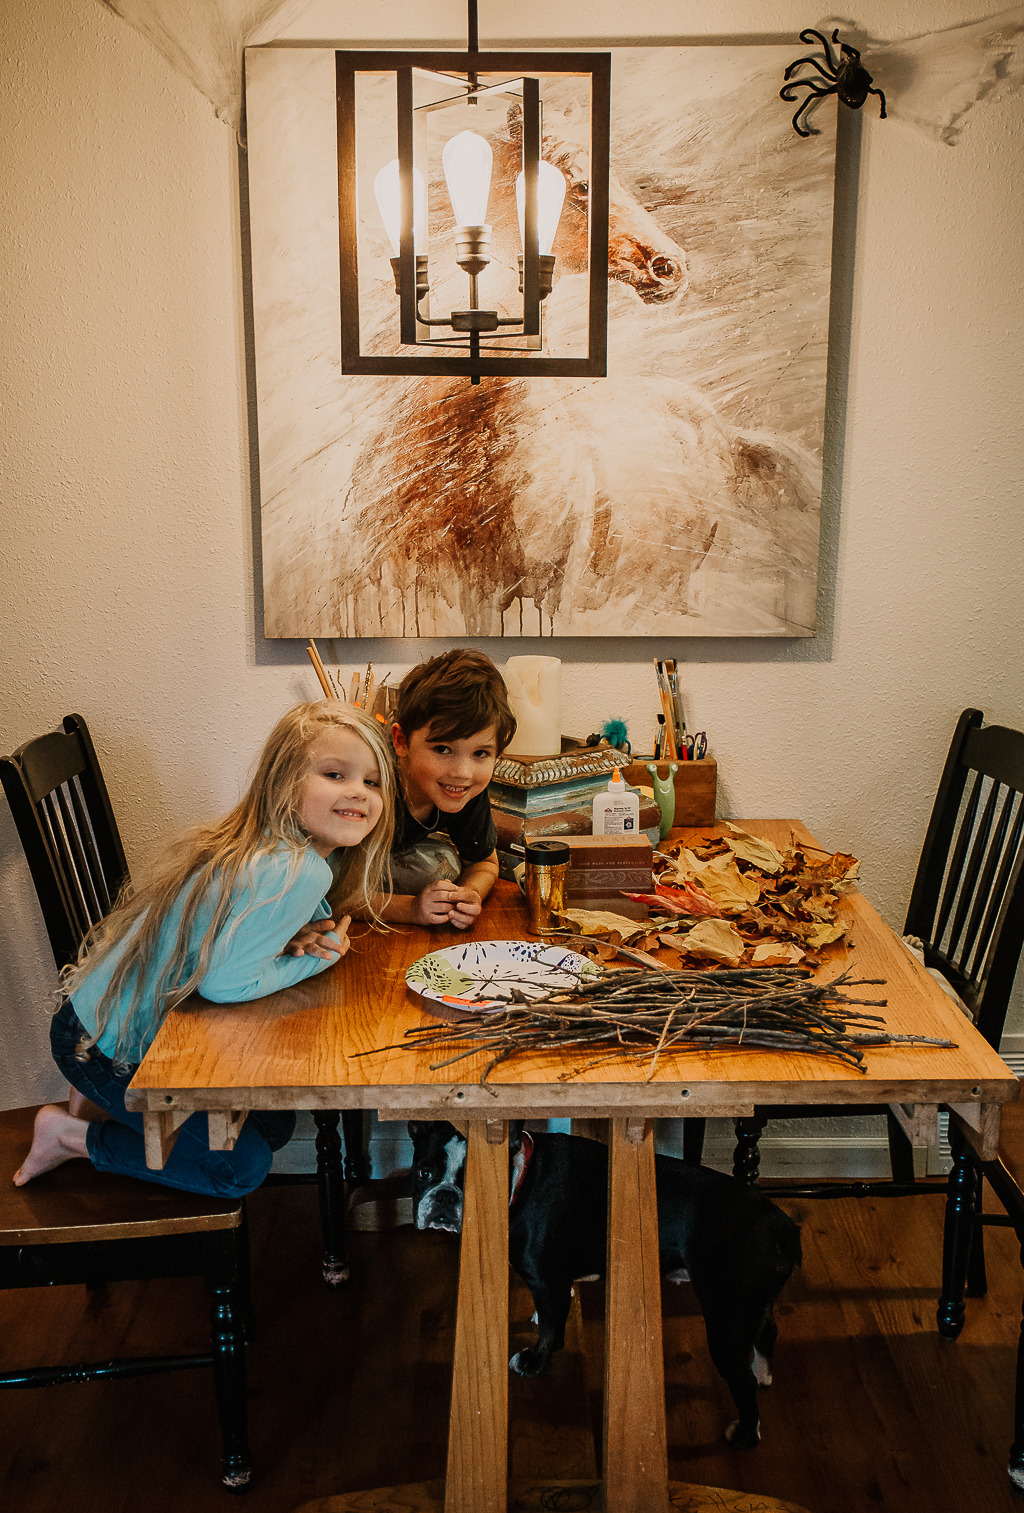
Since we started homeschooling last year (or home educating as we like to call it), I knew I wanted to take yearly school photos that were a bit unconventional and reflected what we were learning about that year. Last year we took them at a local apple orchard, which fit in perfectly with our Peaceful Preschool curriculum. This year we are working our way through Exploring Nature with Children by Raising Little Shoots (I highly recommend!) and my kids have been gathering different things from our nature walks every week and collecting them in a little bag they bring with. The idea of making nature crowns this year for our photos came naturally as a way to showcase some of the things they’ve gathered on our walks, they loved it and we got right to work!
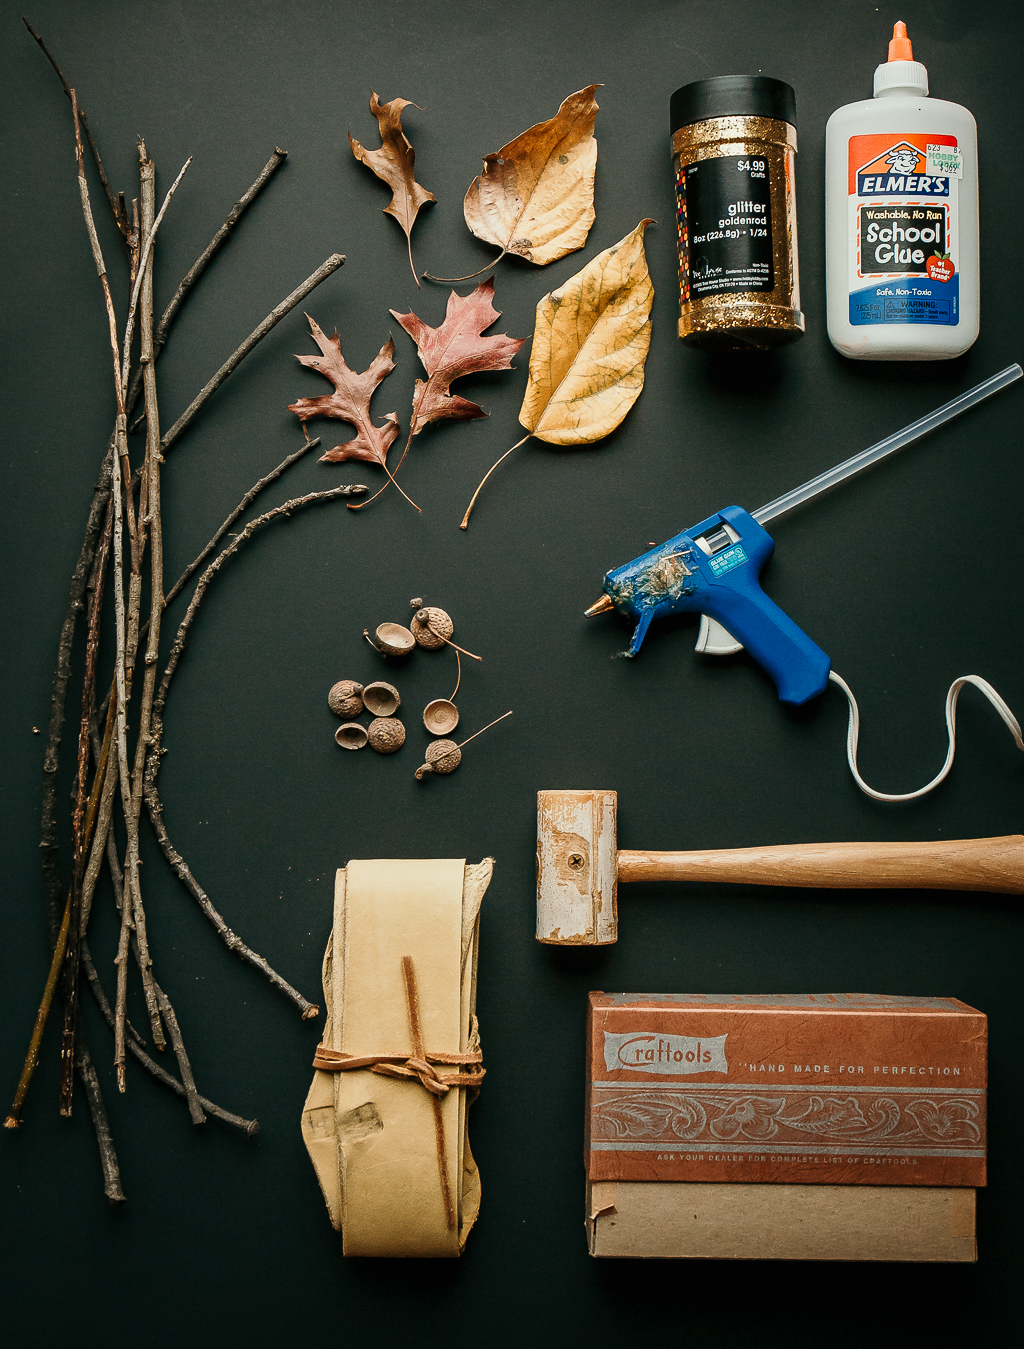
Supplies
Here are some of the things we used, the great part is the majority of it is free and can be gathered during a short walk outside:
- Various sticks, leaves, acorns, pine cones, or anything else you’d like to add to your crown
- Sparkles
- Glue
- Hot glue gun
- Paint brushes
- Leather tooling kit
- Scrap leather(ours was $3 for the bundle at Hobby Lobby)
- Gems
- Elastic or ribbon
Step by Step Guide
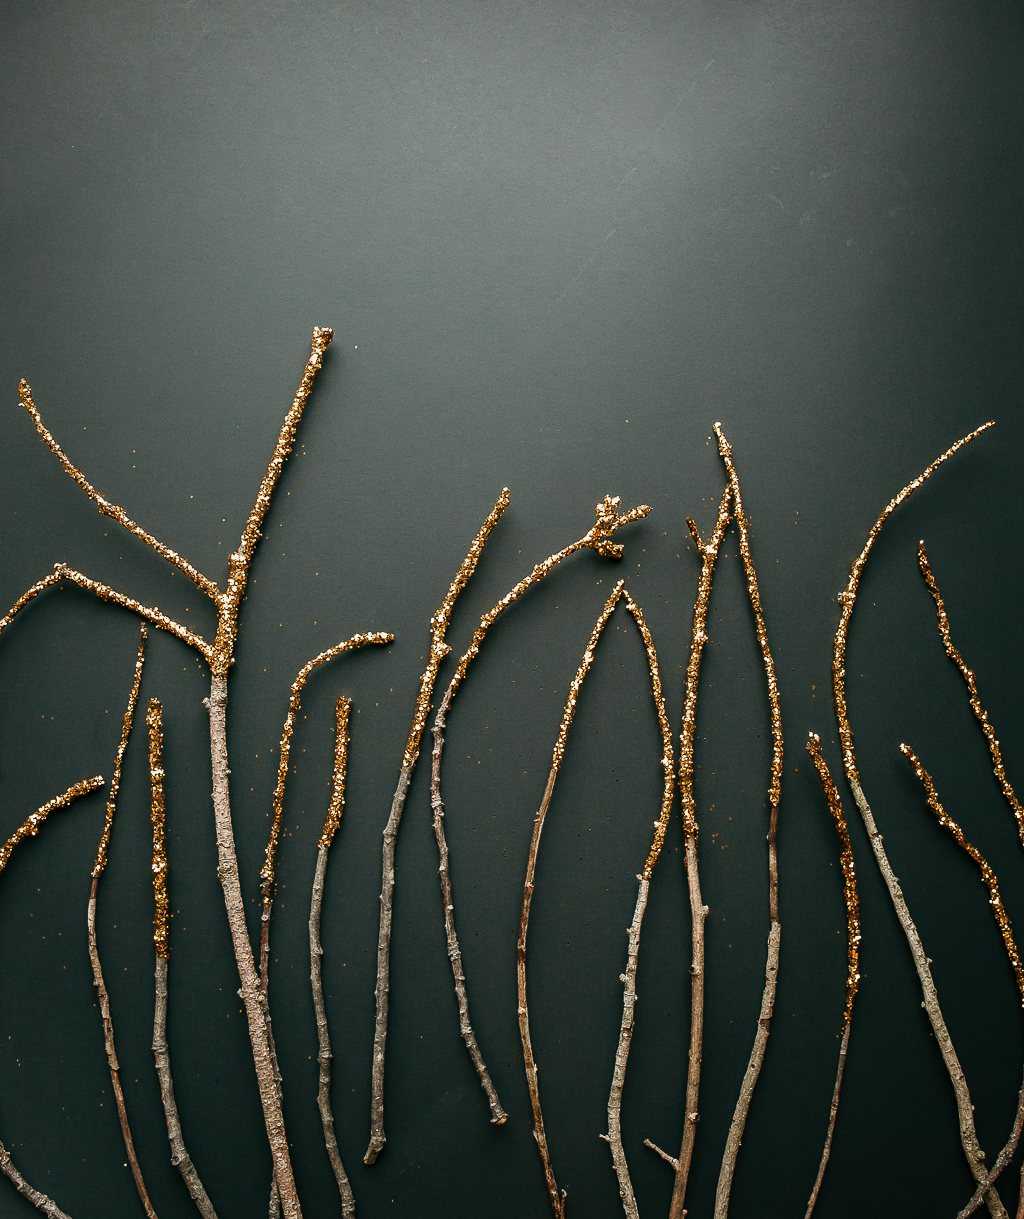
- We started out by creating some gold sparkly sticks to use. I simply poured some Elmer’s glue into a bowl and my kids painted the sticks with glue where they wanted the sparkles and then shook the sparkles on the sticks over a paper plate for easy clean up, then we let them dry overnight.
- Next, I measured the front of my kids heads and cut the leather to size.
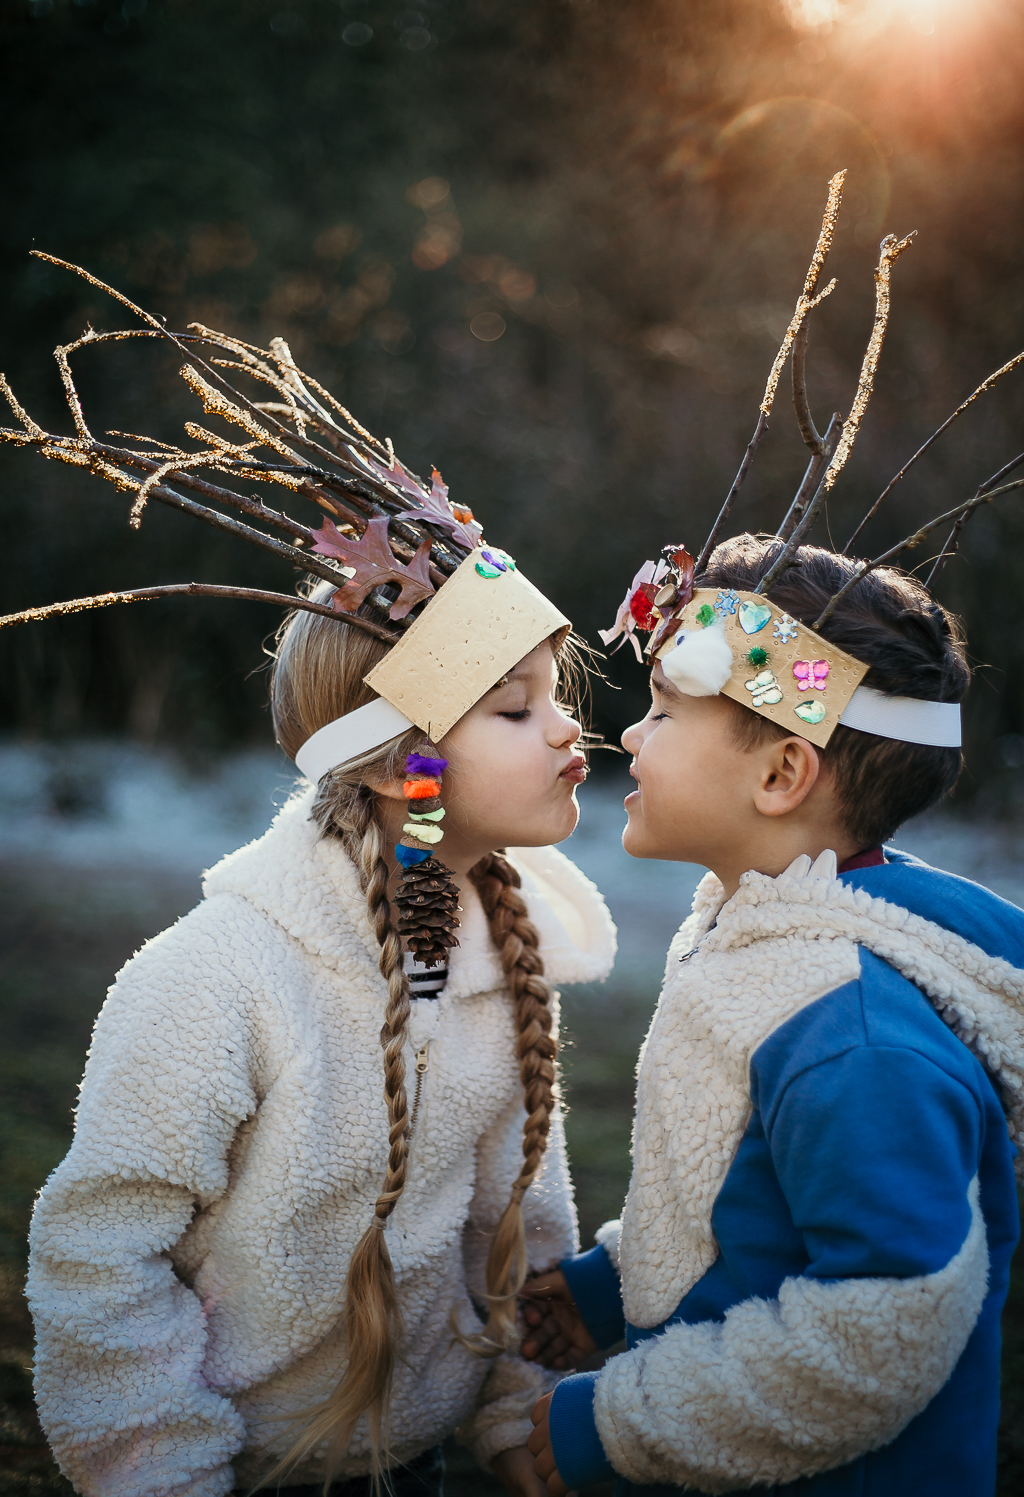
- They chose to decorate the leather however they wanted, making a few designs with our leather tooling kit, gluing gems and a few other things to the front.
- Once the leather is decorated and dried, we glued our sparkly sticks and leaves to the back with a hot glue gun.
- To finish the crowns, measure the total length around your child’s head(or your own if it’s for you) and subtract the length of your piece of leather, this is the length you will need to cut your piece of elastic, adding an extra 2″ for gluing.
- With your hot glue gun, glue the elastic edges to your piece of decorated leather to create the crown.
- Last, if you wish, you can add a piece felt to the inside of your crown to make it more comfortable on your forehead, but we didn’t find this necessary.
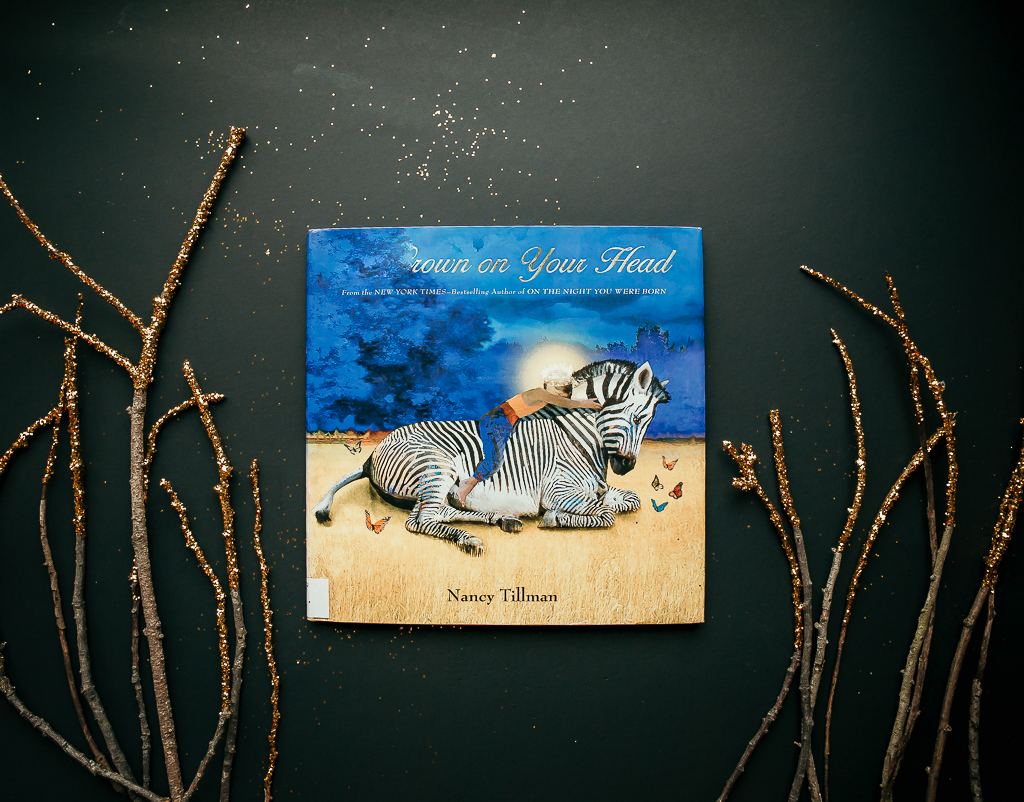
We also read this book, The Crown on Your Head by Nancy Tillman, during our craft time. We LOVE this book! It’s such a beautiful book for kids about loving your unique self, and it really encouraged them to do whatever they wanted with their crowns they were making.
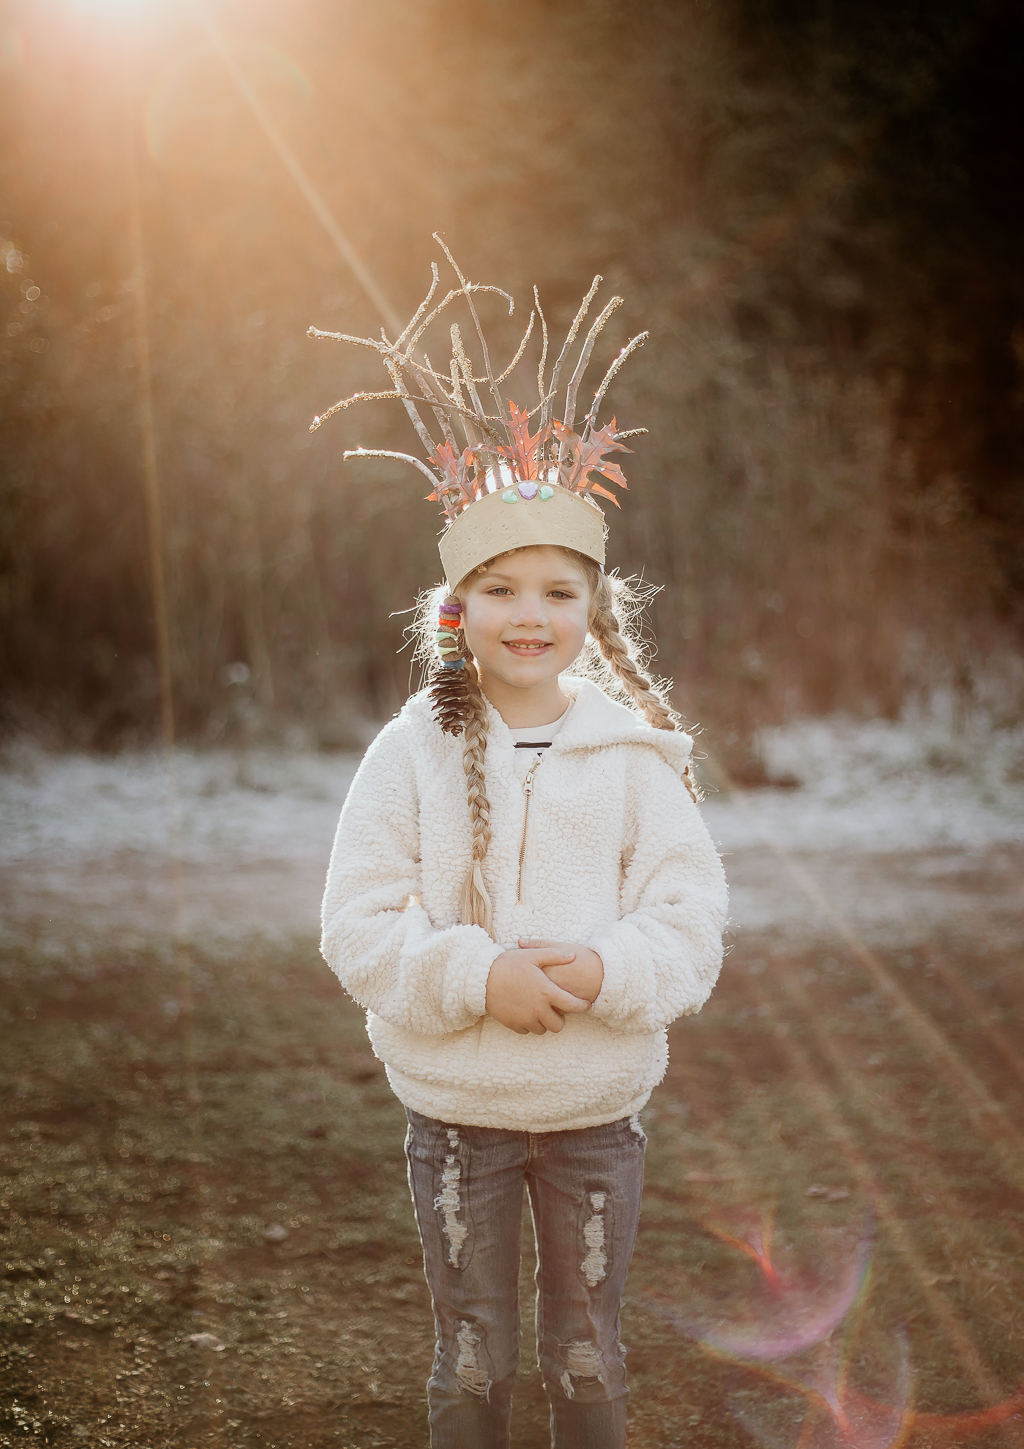
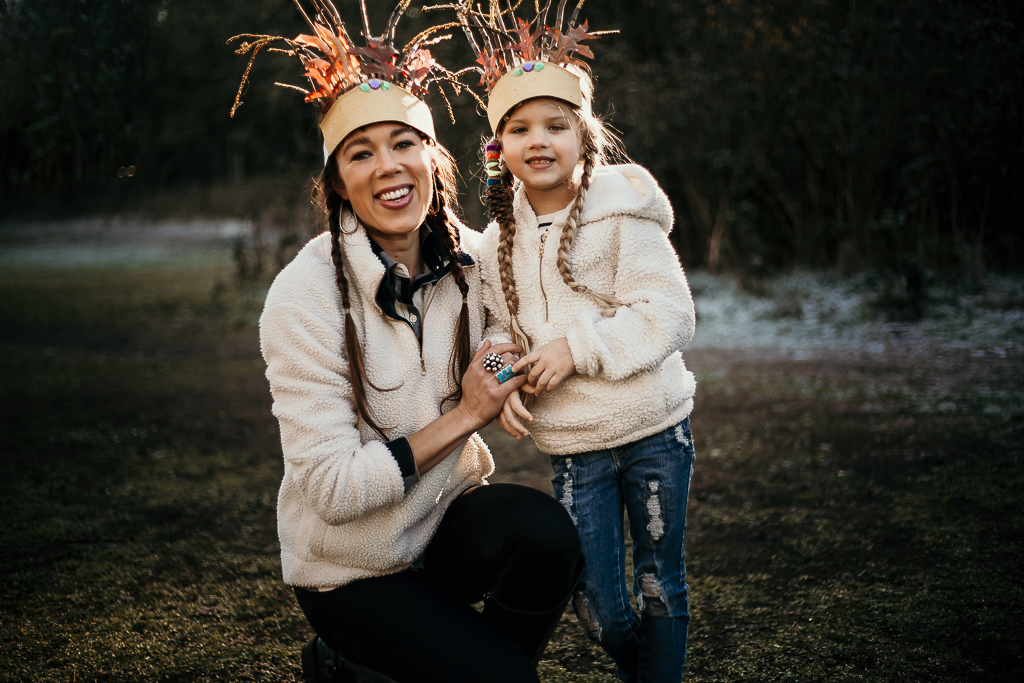
The Photo Shoot

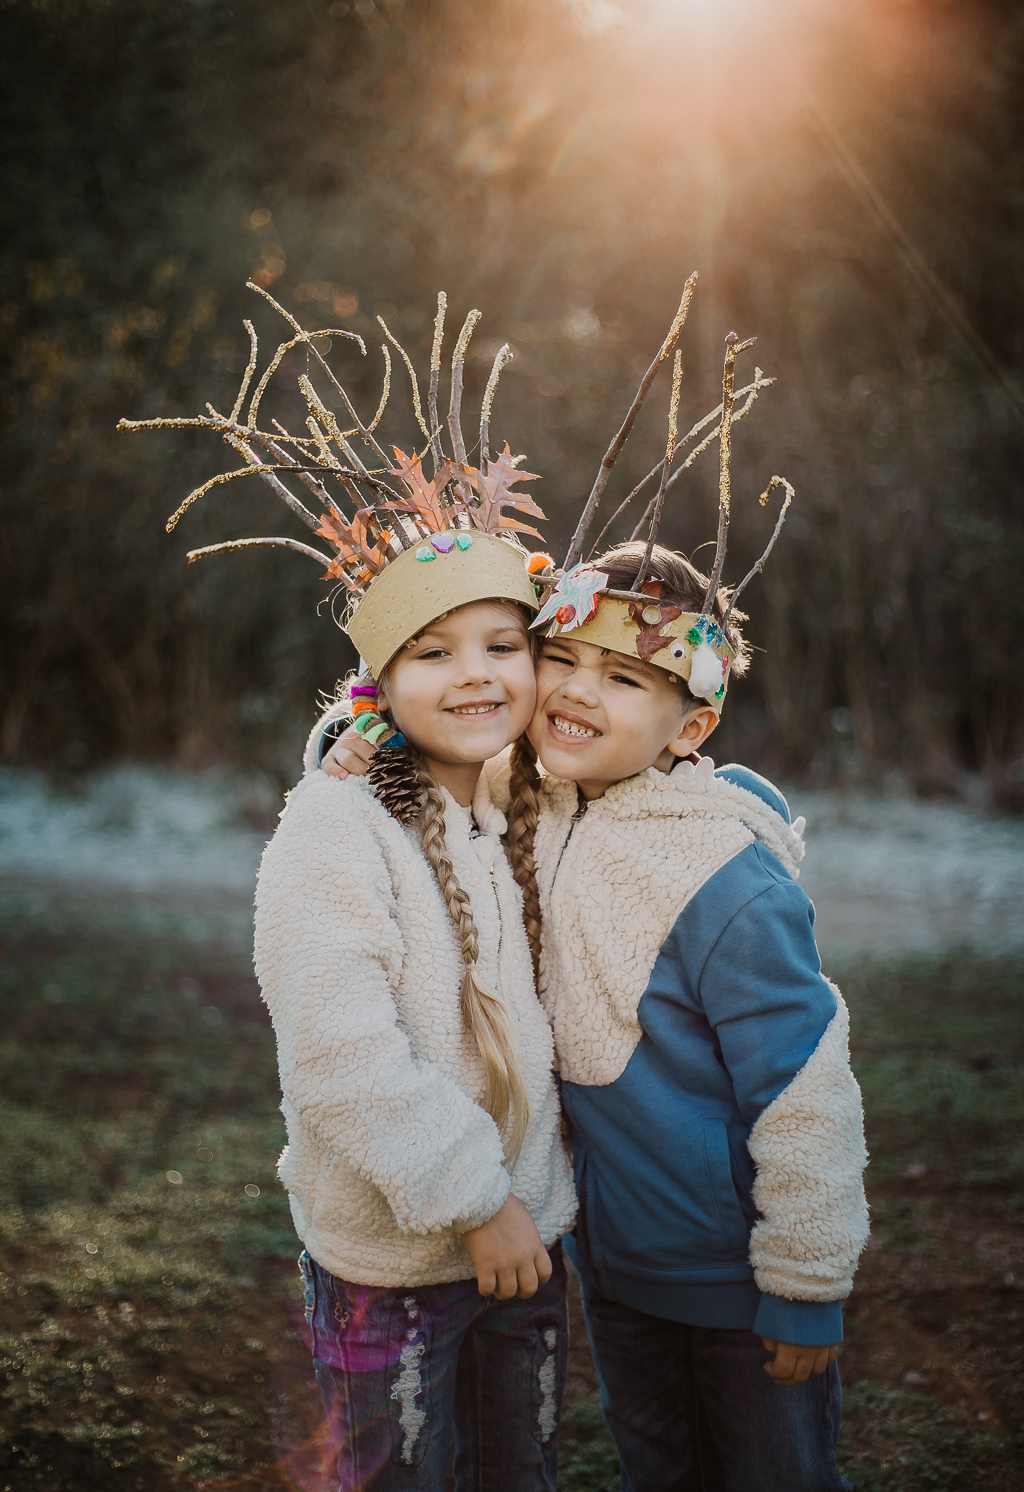
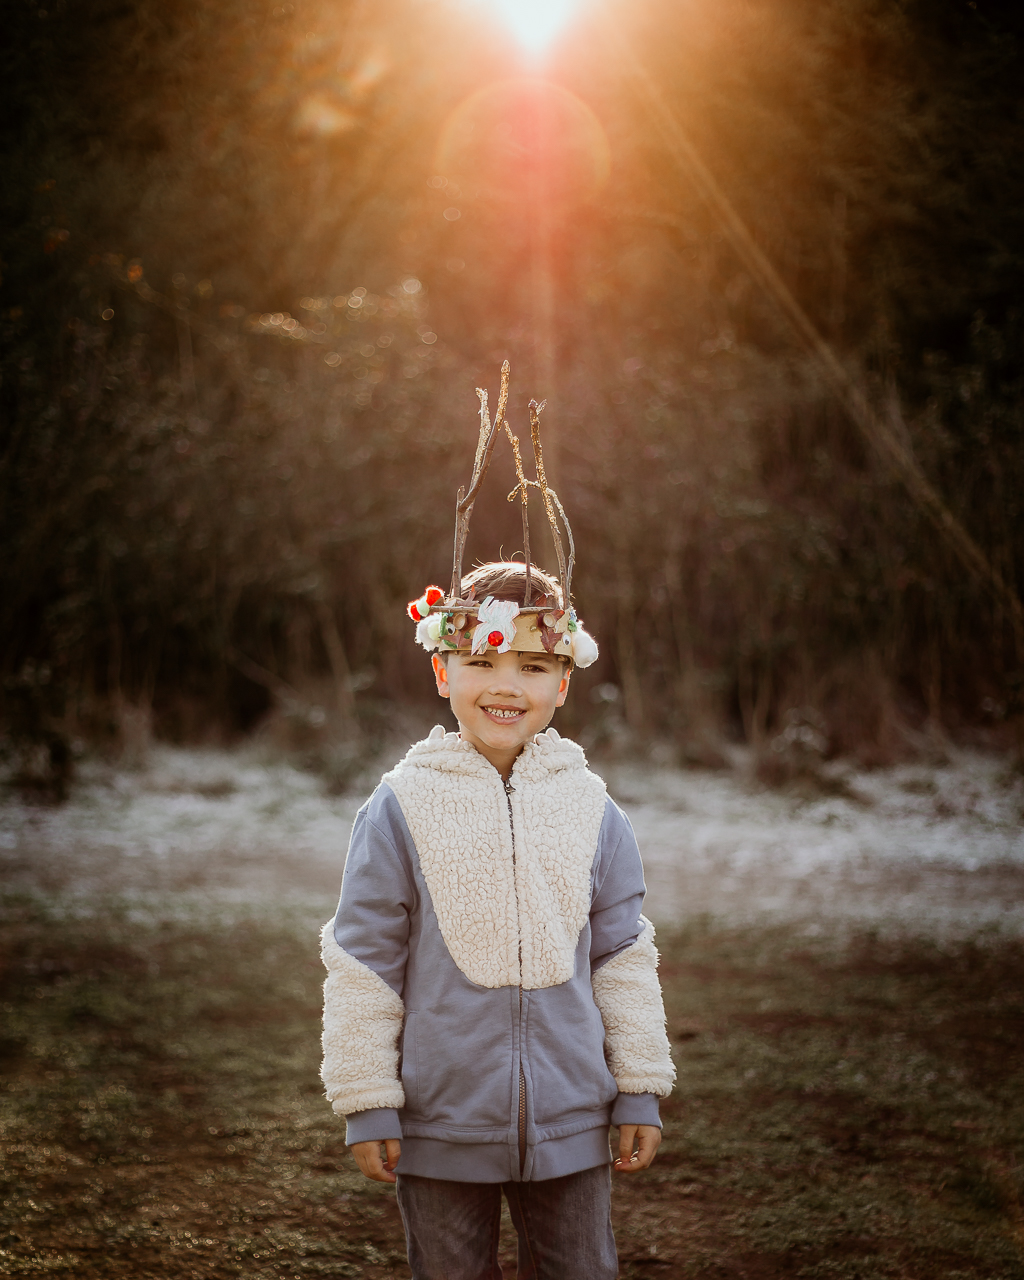
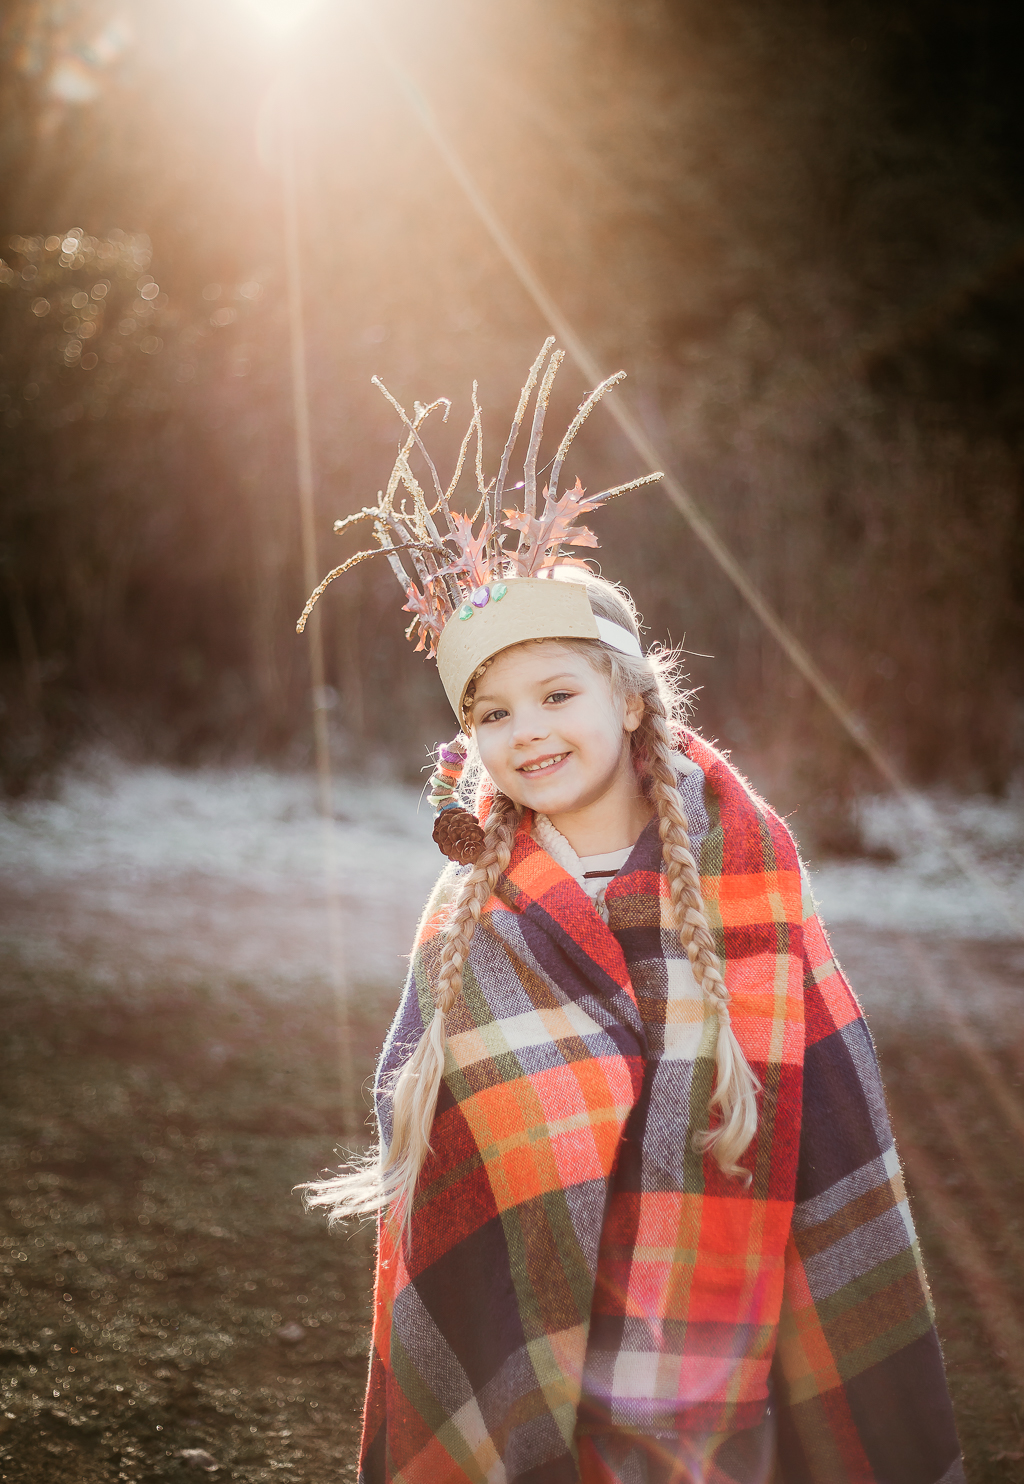
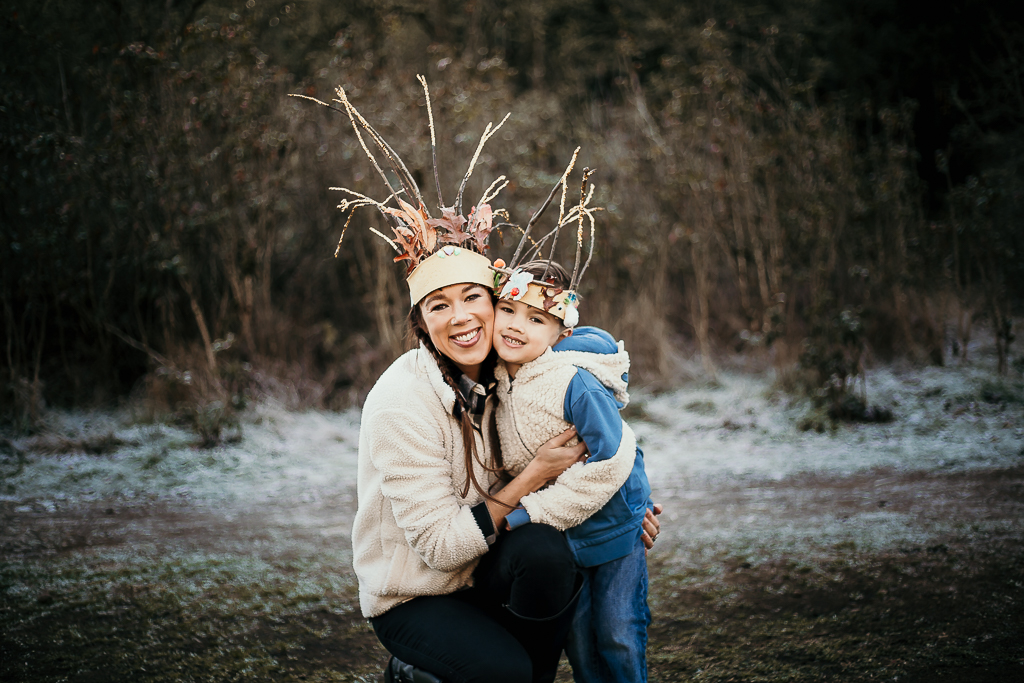
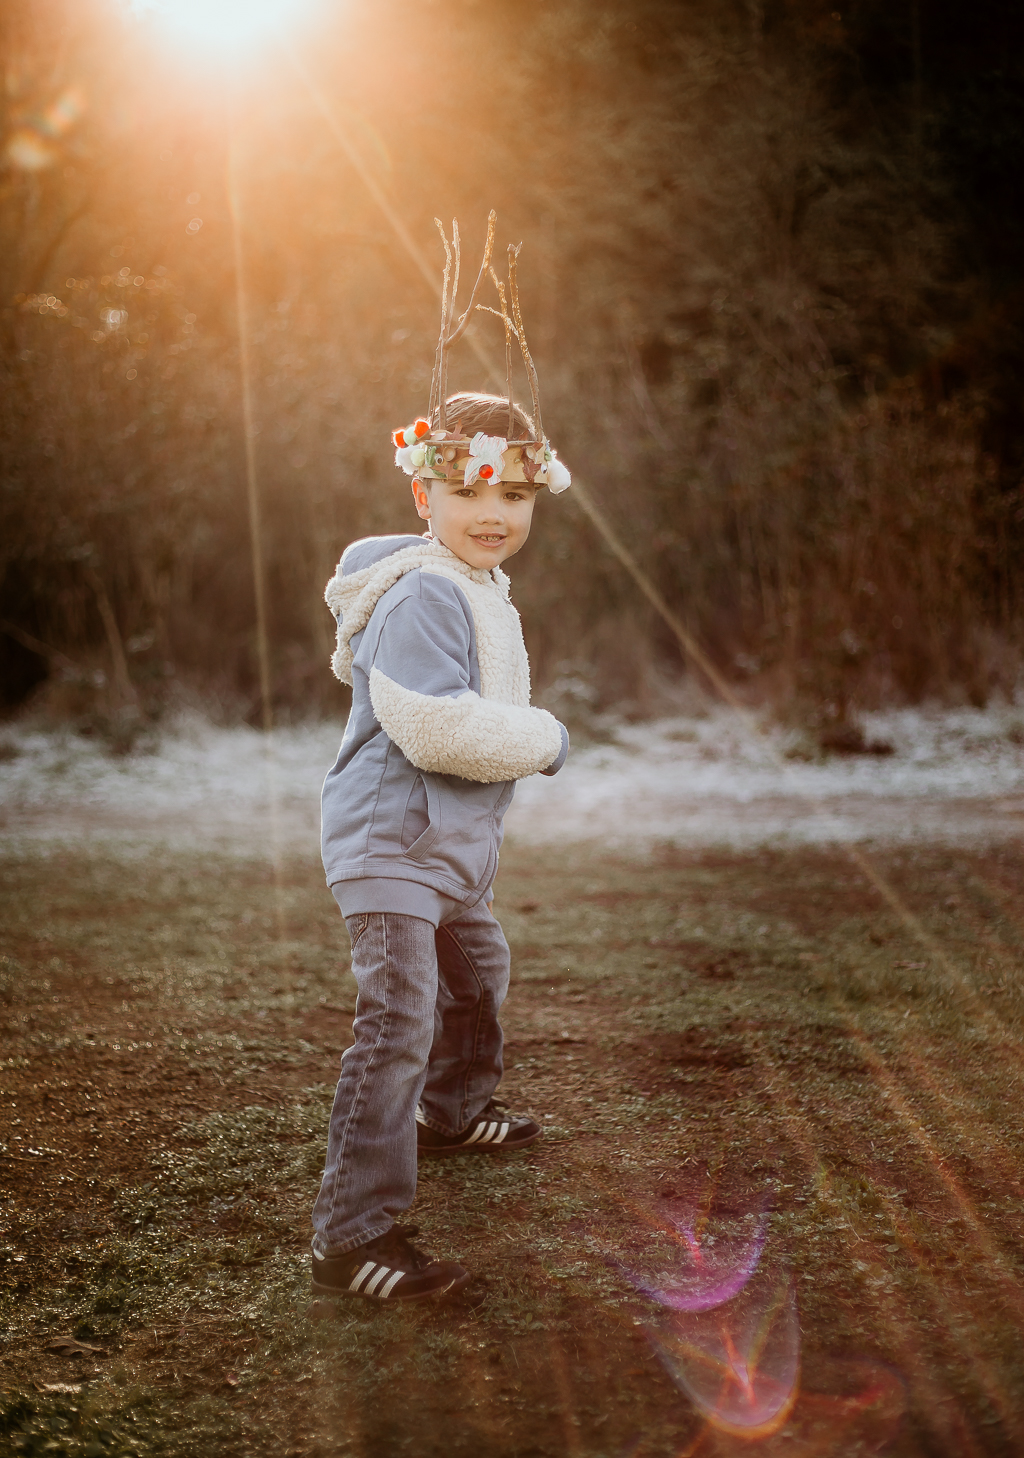
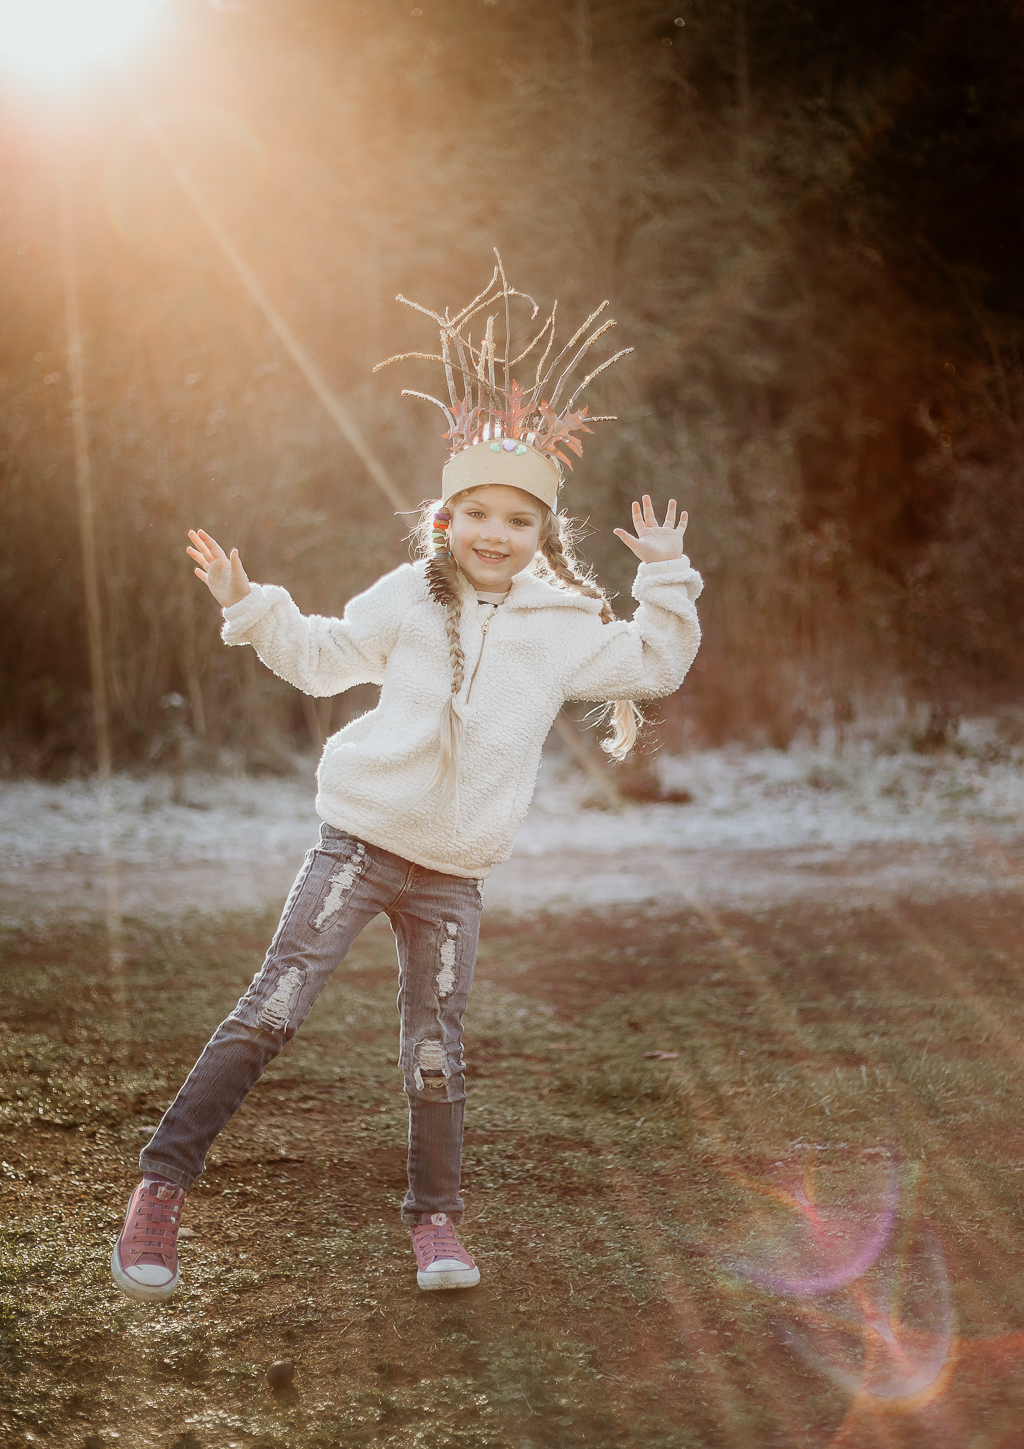
I truly hope you found this tutorial helpful and it inspires you to get out there and create your own! Feel free to tag me with your creations on Instagram @jayprimrose, I’d love to see what you come up with!❤️